Food Illustrated
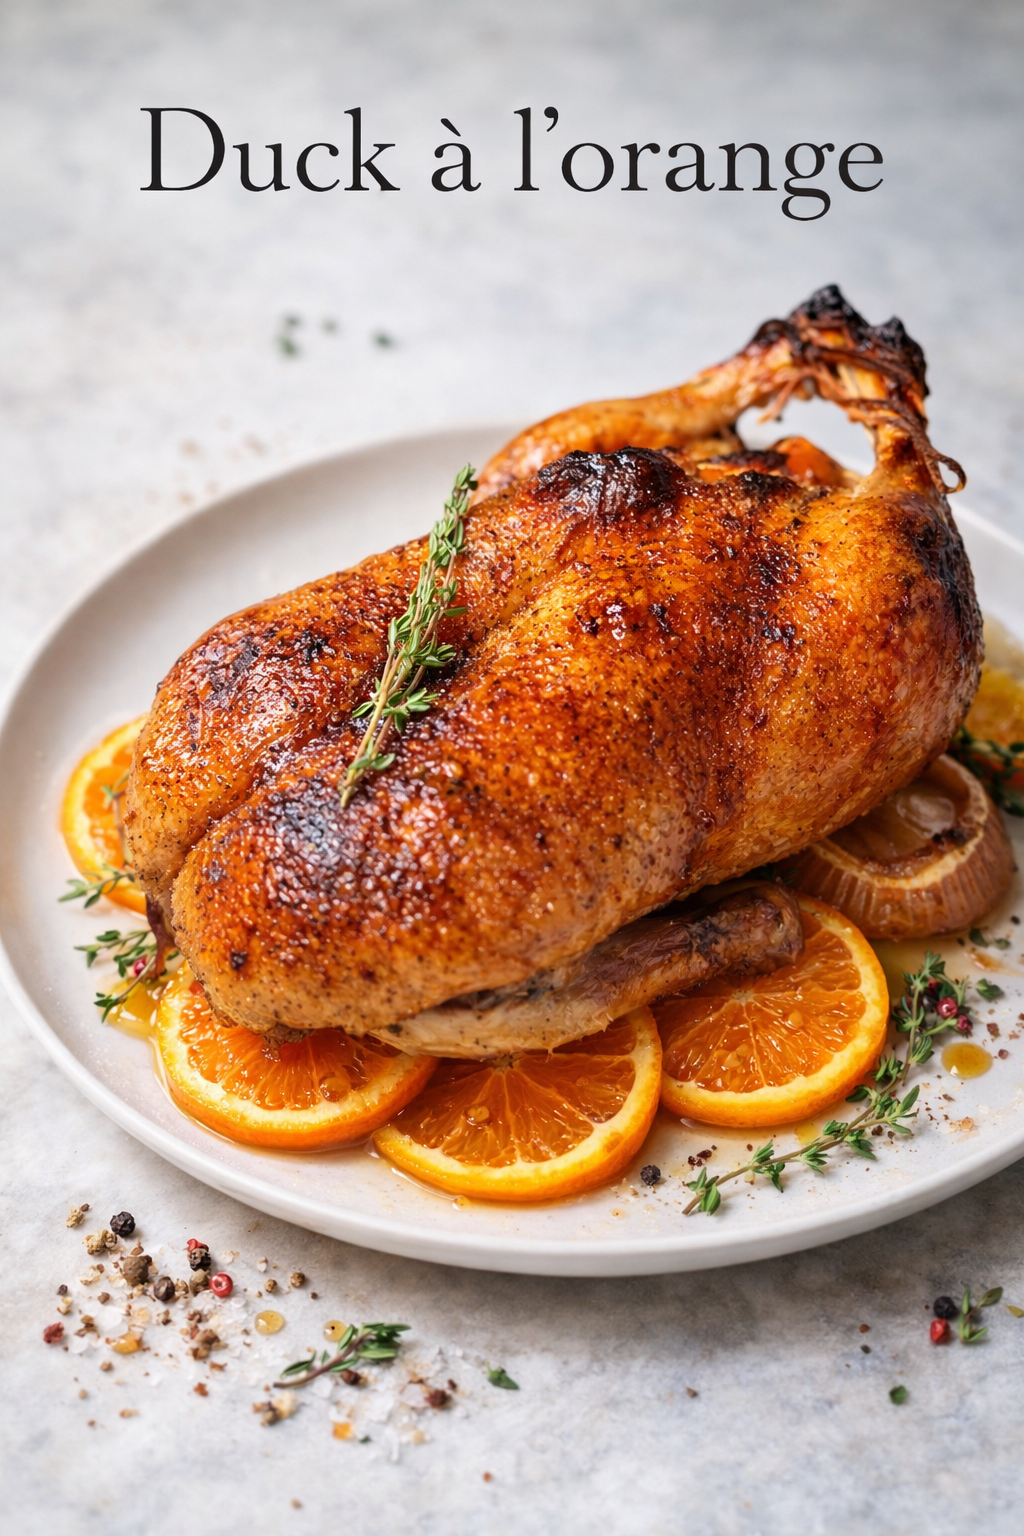
Discover the best ways to cook duck at home. From pan-seared breast to slow-roasted confit, learn the techniques and key differences from chicken.
Have you ever wondered why duck appears on fancy restaurant menus more often than chicken? The answer lies in its rich flavor and luxurious fat content. Unlike the lean, familiar chicken, duck offers a depth of taste that rewards a slightly more thoughtful approach in the kitchen.
For most home cooks, chicken is the reliable workhorse. It is versatile, forgiving, and simple to prepare. Duck, however, is different. It requires a specific set of techniques to transform that thick layer of fat into crispy skin and succulent, flavorful meat. Once you understand these methods, you can easily bring a restaurant-quality dish to your own dinner table.
Before we dive into the specific techniques, it helps to understand the bird itself. While you can certainly buy pre-portioned duck breasts and legs, knowing how to break down a whole duck gives you more control and saves money. However, if you are short on time, purchasing specific cuts works perfectly for the methods below.
Let us explore the best ways to cook duck, starting with the classic technique every beginner should master.
1. Pan-Seared Duck Breast
This is the best place to begin your duck cooking journey. It is quick, impressive, and teaches you the cardinal rule of cooking duck: you must render the fat.
Why This Method Works
Unlike a chicken breast, which can dry out easily, a duck breast is protected by a thick layer of fat. When cooked properly, this fat slowly melts, basting the meat from the outside and leaving you with incredibly moist results. The key difference from chicken lies in the doneness. While chicken must be cooked through to 165°F, duck breast is best served pink, around 130-135°F.
The Technique
- Score the Skin: Using a sharp knife, score the skin in a crosshatch pattern. Be careful to cut only through the fat and not into the meat. This pattern helps the fat render out efficiently.
- Start Cold: Place the breast skin-side down in a cold skillet. This is the opposite of how you would start chicken. Turning the heat to medium-low allows the fat to slowly melt and render out.
- Pour Off the Fat: As the fat renders, pour it into a heatproof jar. After about 8-10 minutes, you will be left with a beautifully golden, crispy skin.
- Flip and Finish: Flip the breast over and cook for just 2-4 more minutes for medium-rare. Rest it for 5-10 minutes before slicing against the grain.
The Result: Perfectly crispy skin and juicy pink meat.
2. Slow-Roasted Duck Leg Confit
Confit is a traditional French preservation method that involves curing meat and then cooking it slowly in its own fat. While it sounds fancy, it is actually one of the most forgiving ways to cook duck legs.
Why This Method Works
Duck legs contain more connective tissue than the breasts. This tissue requires low, slow cooking to break down into tender, falling-off-the-bone meat. The fat acts as an insulator, ensuring the meat cooks gently and never dries out. According to the culinary experts at Serious Eats, this method transforms tough legs into something truly luxurious.
The Technique
- Salt and Season: Rub the duck legs generously with salt, garlic, and herbs like thyme. Let them rest in the fridge overnight to cure slightly. This step draws out moisture and concentrates the flavor.
- Low and Slow: Rinse the salt off and place the legs in a baking dish. Add enough duck fat or oil to come about halfway up the sides of the legs. Roast at 300°F (150°C) for 2 to 2.5 hours.
- Finish: The meat is done when it is fork-tender and pulls away from the bone easily. For extra crispiness, you can briefly place the legs under a broiler before serving.
The Result: Fall-off-the-bone tender, rich, and savory meat that tastes like it came from a French bistro.
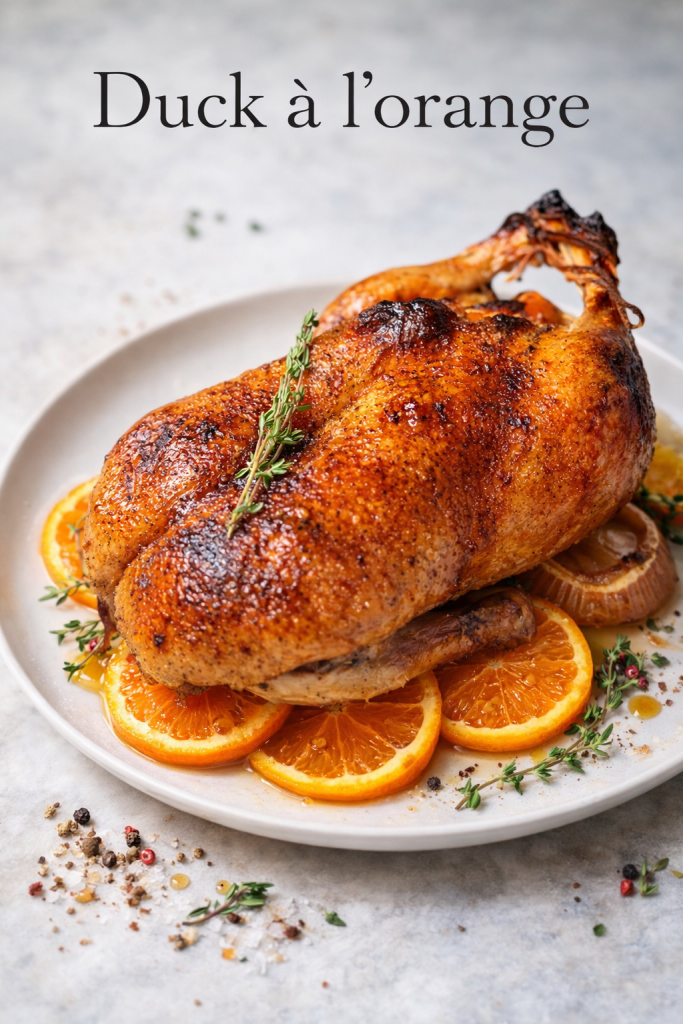
3. Roasted Whole Duck
Roasting a whole duck makes for a stunning centerpiece, but it is trickier than roasting a chicken. The challenge lies in the fact that the breast can overcook and dry out before the legs are fully tender.
Why This Method Works
By using a few specific techniques, you can protect the delicate breast meat while ensuring the legs cook through and the skin becomes shatteringly crisp.
The Technique
- Prick the Skin: Use a fork to prick the skin all over, paying special attention to the lower back and thighs. This allows the fat to escape during cooking.
- Pour Over Boiling Water: This step is a game-changer. Pouring boiling water over the duck tightens the skin and opens the pores. As explained by Cook’s Illustrated, this technique is essential for achieving maximally crispy skin.
- Roast with Care: Start the duck breast-side down in a moderate oven. This protects the breast while the legs cook. Flip it halfway through and increase the heat at the end to achieve maximum crispiness.
The Result: A stunning centerpiece with crispy skin and succulent meat. The breast will be closer to medium-well than medium-rare, but still moist thanks to the fat protection.
4. Grilled Duck Breast
Grilling might seem like a technique reserved for chicken, but it works beautifully for duck. The high heat helps render the fat quickly while adding a wonderful smoky flavor.
Why This Method Works
Duck fat is prone to flare-ups on a grill, so this method requires a two-zone fire. By rendering the fat slowly over indirect heat first, you avoid burning the skin.
The Technique
- Prepare the Grill: Set up your grill for two-zone cooking, with coals on one side only. Aim for a temperature of around 350°F on the indirect side.
- Score and Season: Score the duck breast skin and season generously.
- Start Indirect: Place the breasts skin-side down on the indirect side of the grill. Close the lid and let the fat render for about 8-10 minutes.
- Finish Over Direct Heat: Move the breasts over the direct heat, skin-side down, for 1-2 minutes to crisp the skin. Flip and cook for another minute or two for medium-rare.
The Result: Smoky, crispy-skinned duck with a hint of charcoal flavor that pairs beautifully with the rich meat.
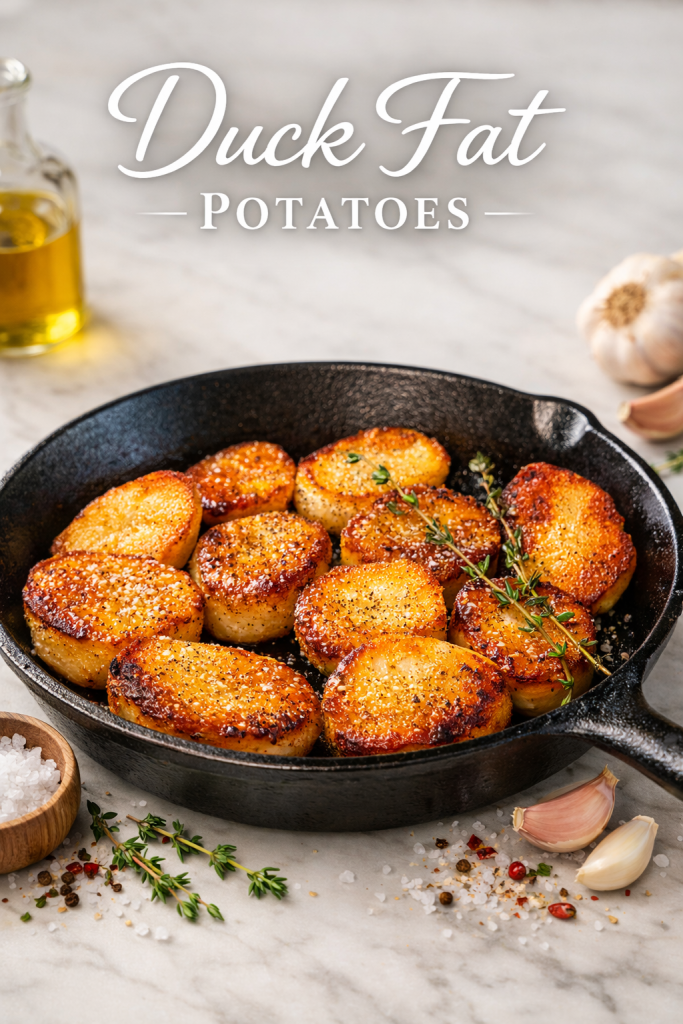
The Golden Rule: Save Your Duck Fat
Regardless of which cooking method you choose, you will end up with rendered duck fat. Do not throw it away. Strain it into a clean jar and store it in the fridge. It is an incredible cooking fat that adds a rich, savory depth to countless other dishes.
- Vegetables: It makes the best sautéed green beans or roasted mushrooms.
- Potatoes: Tossing potatoes in duck fat before roasting is a game-changer.
- Eggs: Frying your morning eggs in duck fat adds an incredible richness.
Final Thoughts
Learning the different ways to cook duck opens up a new world of flavor in your kitchen. Whether you choose the quick elegance of a pan-seared breast or the slow, patient reward of a confit, each method teaches you something valuable about working with this rich and rewarding bird.
So, next time you want to elevate your dinner routine, skip the chicken and try one of these techniques. Your taste buds will thank you.