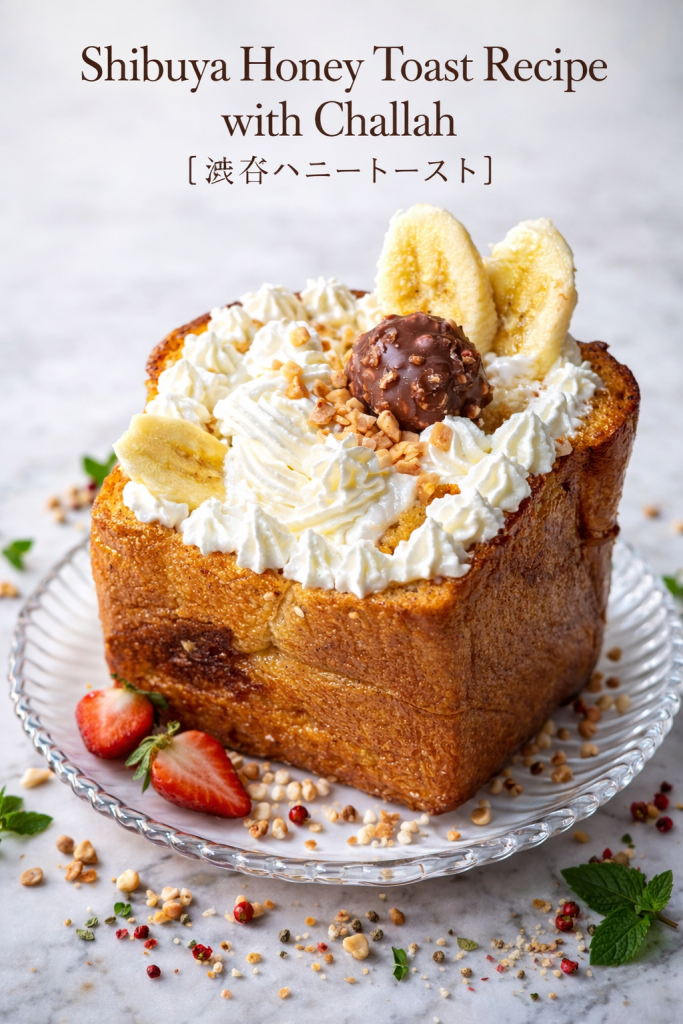
Learn to make the best homemade challah bread with this step-by-step guide. Perfectly braided, golden, and slightly sweet—a foolproof recipe for Shabbat and holidays.
INTRODUCTION
There’s nothing quite like the aroma of freshly baked Challah bread wafting through your home. It’s a warm, yeasty, slightly sweet scent that promises comfort and celebration. This golden, braided loaf is far more than just bread. It’s a tangible piece of history and a centerpiece of tradition.
According to My Jewish Learning, the word “Challah” (חלה) is ancient. It originally referred to the portion of dough set aside as a tithe for priests in the Temple of Jerusalem. Over centuries, the elaborate braids came to symbolize love, truth, peace, and unity. Each strand intertwines to create something greater than the sum of its parts.
Great Challah isn’t just about history and symbolism. It’s also about beautiful, accessible science. This recipe comes from my mother-in-law’s cherished family method. It’s been passed down for generations, and I’ve simplified it for you. We’ll demystify the entire process together, from activating the yeast to achieving that signature golden crust.
Whether you’re preparing for Shabbat, a holiday, or simply craving homemade bread, let’s bake a piece of heritage. You’ll create something to share with those you love.
THE HISTORY: A Loaf Woven with Tradition
The Biblical Origins
The tradition of setting aside a portion of dough, called hafrashat challah, dates back to biblical times. It’s described in Numbers 15:17–21. This mitzvah (commandment) is still observed by many Jewish bakers today. Each loaf connects them to millennia of practice and faith.
The Evolution of the Braided Loaf
The bread we recognize as soft, egg-enriched challah likely originated in medieval Europe. It emerged in Germany and Austria, evolving from local braided breads. According to Jewish Virtual Library, Jewish communities carried their culinary traditions as they migrated.
The elaborate braids became deeply symbolic. A six-strand braid is said to represent the 12 loaves of showbread from the Temple. It can also symbolize the unity of the Jewish people. Braiding six strands into one loaf represents different facets of life coming together.
Symbolism in Every Strand
For Shabbat, we use two loaves, or “lechem mishneh.” This commemorates the double portion of manna that fell from heaven on Fridays. As Chabad.org explains, this happened during the Israelites’ desert wanderings so they wouldn’t gather food on the Sabbath.
With every twist and tuck, you’re not just shaping dough. You’re weaving a story of faith, community, and survival. It’s a beautiful tradition to continue in your own kitchen.
THE SCIENCE: The Delicious Chemistry of a Perfect Loaf
The Bloom: Biology in Action
The first step is “blooming” the yeast in warm water with a pinch of sugar. Think of it like waking a sleepy dragon. Yeast is a living, single-celled fungus. When rehydrated in warm (not hot!) water, it springs back to life.
The sugar is its first meal, kickstarting its metabolism. The yeast consumes the sugar and respires, producing carbon dioxide (CO2) gas and ethanol. The frothy bubbles you see are the CO2. This proves your yeast is alive, active, and ready to leaven your bread. For a deeper dive, Serious Eats offers an excellent explanation.
The Dough: Building Structure and Flavor
When you mix in flour, you introduce two proteins: glutenin and gliadin. When combined with water and agitated by kneading, they link up to form gluten. Imagine gluten as a network of tiny, elastic balloons. As you knead, you strengthen this network.
The eggs and oil add richness and tenderness. The fat coats some of the gluten strands, preventing them from becoming too tough. This ensures that soft, pillowy crumb we all love. Sugar does double duty: it feeds the yeast and, through the Maillard reaction, helps create that stunning, glossy crust. King Arthur Baking has great resources on this.
The Rise: Proof in the Process
The first long rise is where the yeast colony goes to work. It feasts on the sugars in the dough, pumping out countless CO2 bubbles. The strong, elastic gluten network traps these gases, causing the dough to inflate like a balloon. It should “double in size.”
The second, shorter rise after braiding builds the final structure and airiness. This step is crucial for a light, well-textured loaf.
The Bake: The Final Transformation
In the oven’s heat, the yeast produces one last furious burst of gas. This is called “oven spring.” The trapped CO2 expands, giving the loaf its final lift. The heat then sets the structure as starches gelatinize and proteins coagulate.
Finally, the egg wash performs its magic. It creates a beautiful, brown, and shiny crust through the Maillard reaction and caramelization. It’s the perfect finish to your hard work.
GOOD PAIRING FOOD AND DRINK
This versatile bread is delicious with both sweet and savory pairings.
- Appetizer: A classic platter with hummus, baba ganoush, and Israeli salad. The soft, slightly sweet challah is perfect for scooping up creamy, savory dips. It soaks up bold flavors without falling apart.
- Main Course: Hearty chicken soup or beef stew. Challah’s fluffy texture is ideal for sopping up rich, flavorful broth. The bread’s subtle sweetness balances the savory depth beautifully.
- Side Dish: Roasted vegetable medley. Pair thick slices with roasted Brussels sprouts, carrots, and sweet potatoes. The soft bread contrasts wonderfully with caramelized, crispy vegetable edges.
- Dessert: Challah bread pudding with vanilla sauce or fresh berries. This is the ultimate way to use leftover challah. Its rich, eggy dough soaks up creamy custard perfectly.
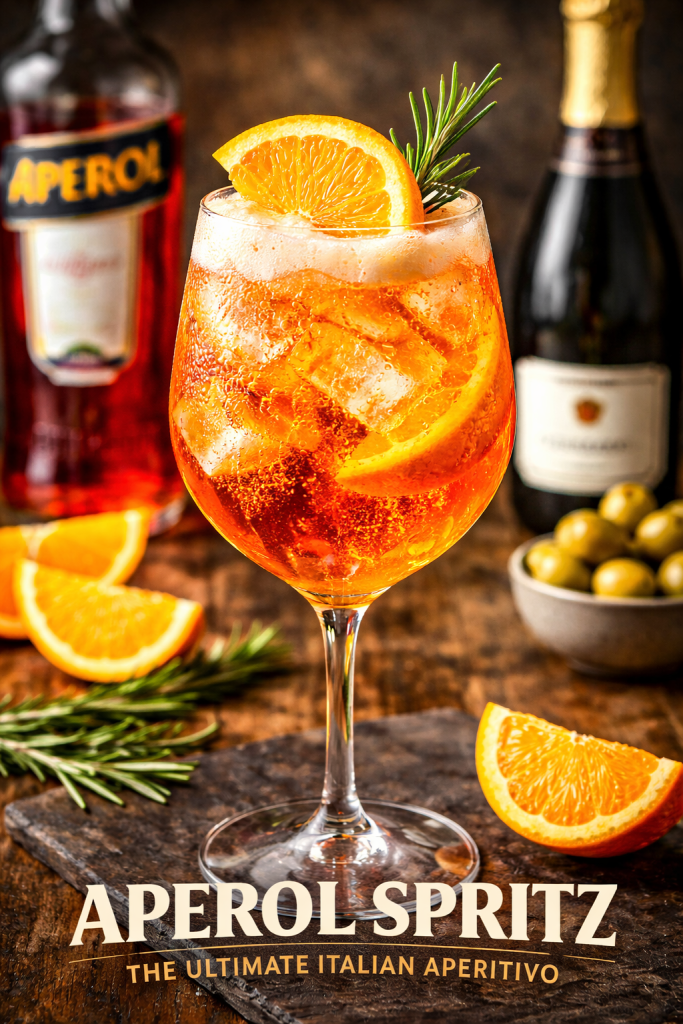
- Cocktail: Aperol Spritz. The bright, bitter orange notes and bubbles cut through the bread’s richness. It acts as a perfect palate cleanser between bites.
- Non-Alcoholic Drink: Sparkling honey lemonade. Honey is a traditional challah sweetener. A sparkling lemonade sweetened with honey echoes this flavor beautifully.
Description
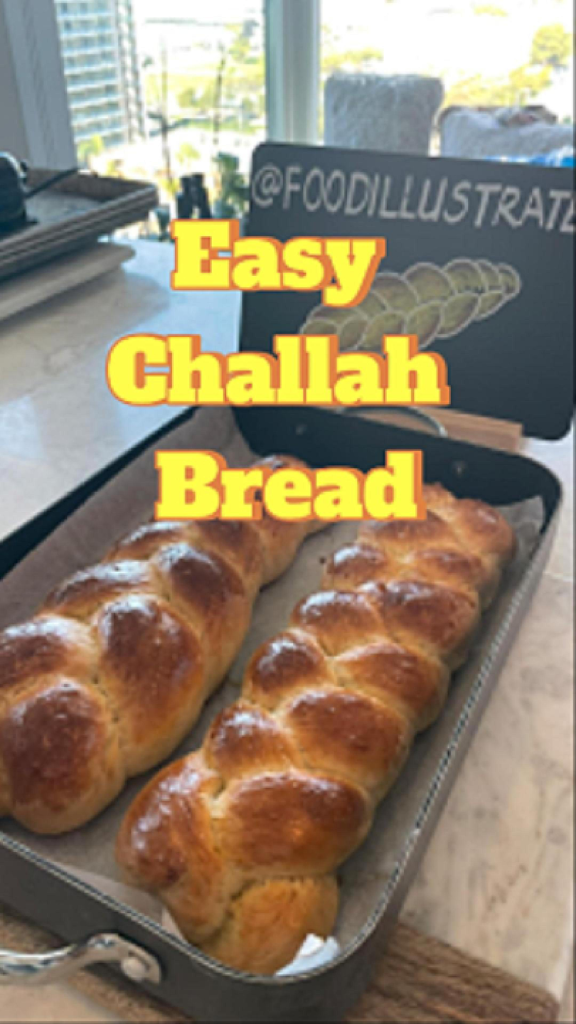
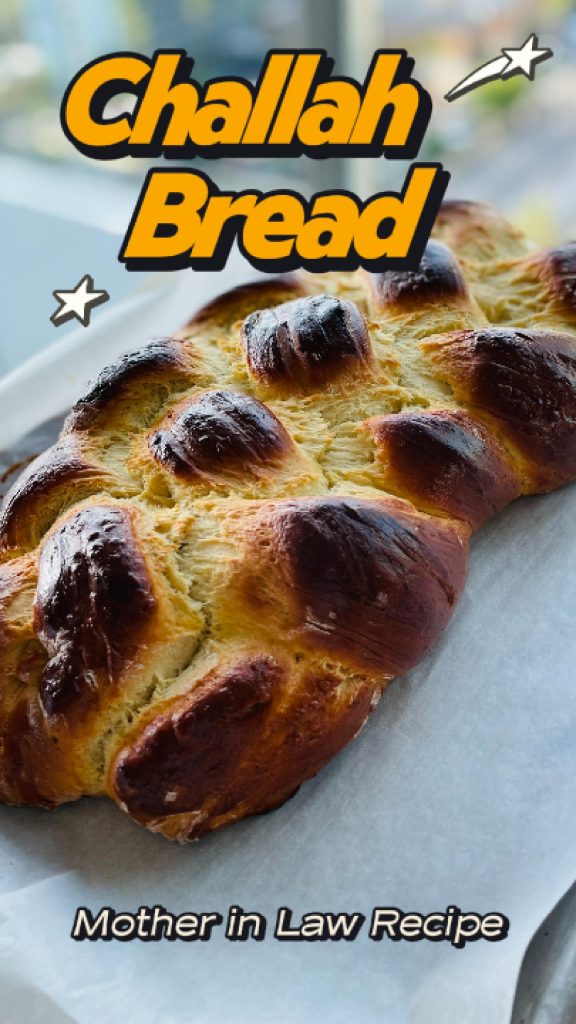
This 3-minute recipe from my mother-in-law creates two beautifully braided, golden-brown loaves of classic Challah. With a soft, rich interior and a perfectly shiny crust, it’s surprisingly simple to make. Step-by-step instructions and pro tips guide you through blooming the yeast, kneading the dough, and mastering an easy 4-strand braid. Perfect for Shabbat, holidays, or a special weekend breakfast.
Ingredients
For the Yeast Bloom:
For the Dough:
For the Egg Wash:
Instructions
-
Bloom the Yeast: In a large bowl or the bowl of a stand mixer, combine the warm water, 1 tablespoon of sugar, and the yeast. Give it a quick stir. Let it sit for 5-10 minutes until the mixture becomes frothy and bubbly on top. This proves your yeast is alive and active.
-
Form the Dough: To the frothy yeast mixture, add the remaining ½ cup of sugar, the eggs, oil, salt, and vanilla extract. Mix with a dough hook or a wooden spoon until combined. Gradually add the flour, one cup at a time, mixing until a shaggy dough forms.
-
Knead the Dough: If using a stand mixer, knead with the dough hook on medium-low speed for about 8 minutes. If kneading by hand, turn the dough out onto a lightly floured surface and knead for 8-10 minutes, until the dough is smooth, elastic, and slightly tacky but not sticky.
-
First Rise: Lightly oil a large, clean bowl. Place the dough in the bowl, turning it once to coat all sides with oil. Cover the bowl with plastic wrap or a clean kitchen towel. Let it rise in a warm, draft-free place for about 1½ hours, or until it has doubled in size.
-
Shape the Loaves: Punch down the dough to release the air. Turn it out onto a lightly floured surface and divide it into two equal halves. For a 4-strand braid, divide each half into 4 equal pieces. Roll each piece into a rope about 12-14 inches long. Lay the four ropes vertically in front of you and pinch them together at the top. Braid as follows: Take the far-right strand and cross it over two strands (so it goes over #2 and under #3, landing in the #2 spot). Then, take the far-left strand and cross it over two strands to the right. Repeat this pattern until the loaf is braided, then pinch the ends together and tuck them neatly underneath.
-
Second Rise (Proofing): Line a large baking sheet with parchment paper. Carefully transfer both braided loaves to the sheet, leaving space between them. Cover loosely with a kitchen towel. Let them proof for 45 minutes. They will puff up but not quite double.
-
Preheat and Egg Wash: About 20 minutes into the proofing time, preheat your oven to 345°F (175°C). In a small bowl, beat together the whole egg and egg yolk for the wash. Just before baking, gently brush the egg wash over the entire surface of each loaf.
-
Bake to Golden Perfection: Place the baking sheet in the preheated oven. Bake for 25-30 minutes, or until the Challah loaves are a deep golden brown and sound hollow when tapped on the bottom. If the top is browning too quickly, tent loosely with foil.
-
Cool Completely: Transfer the loaves to a wire rack to cool completely before slicing. This step is crucial for the perfect texture!

Nutrition Facts
Servings 12
- Amount Per Serving
- Calories 210kcal
- % Daily Value *
- Total Fat 4g7%
- Cholesterol 45mg15%
- Sodium 150mg7%
- Total Carbohydrate 37g13%
- Dietary Fiber 1g4%
- Sugars 9g
- Protein 6g12%
* Percent Daily Values are based on a 2,000 calorie diet. Your daily value may be higher or lower depending on your calorie needs.
Note
- Yeast Test: If your yeast mixture isn't frothy after 10 minutes, it's dead. You must start over with fresh yeast, or your bread will be dense and heavy.
- Braid Tightly: For the best shape, keep your braids snug but not stretched too thin. A tight braid will rise up, while a loose one will spread out.
- Patience Pays: Letting the bread cool completely is the hardest part! If you slice it while it's hot, the steam will escape and the crumb will become gummy.