We have all been there. You order coconut shrimp at a restaurant, lured by the promise of a tropical treat. What arrives is often a greasy disappointment. The crust is soggy, and the coconut has surrendered its grip. It clings to overcooked, rubbery shrimp. The sauce, more often than not, is a cloyingly sweet afterthought from a bottle. It is a dish with so much potential, yet it is so rarely executed well.
This recipe for crispy oven baked coconut shrimp is designed to change that narrative entirely. We use a few key techniques to elevate this appetizer. First, we toast the coconut to unlock its nutty potential. Second, we build a multi-layered coating for maximum crunch. Finally, we craft a sauce with genuine depth. Consequently, simple ingredients, treated with knowledge and care, yield extraordinary results without a deep fryer.
Why This Method is Superior
We achieve exceptional texture through a deliberate, science-backed approach. First, we toast the coconut to drive off moisture and deepen its flavor. Then, we combine it with panko for an airy, shatteringly crisp crust. Additionally, we bake on a wire rack. This ensures hot air circulates completely for even browning. The accompanying sauce is a vibrant blend of sweet, spicy, and tangy elements. As a result, it complements, rather than overwhelms, the delicate shrimp.

The History of Coconut Shrimp
A Florida Keys Origin Story
The specific dish we know as “coconut shrimp” has a relatively recent origin. It is a quintessential example of modern American regional cuisine. Specifically, it was born from the tourism boom of the mid-20th century in the Florida Keys.
The dish is widely credited to a now-shuttered Keys institution called Manny & Isa’s. This rustic restaurant sat on the road to Key West. During the 1970s and 80s, it catered to a growing number of sun-seeking tourists. The owners had a simple, brilliant idea. They took the abundant, sweet local pink shrimp. Then, they coated them in a crust of sweetened coconut flakes. This was a nod to the tropical landscape. Finally, they deep-fried them until golden. Served with a simple orange marmalade, they were an instant sensation.
From Regional Specialty to National Staple
The dish’s fame spread organically from there. It captured the very essence of a Florida vacation. It was indulgent, laid-back, and tasted of the tropics. As tourists returned home, they craved the experience. Consequently, coconut shrimp began appearing on menus across the country. It moved from a regional specialty to a national appetizer staple.
The sauce evolved alongside the dish’s popularity. The simple marmalade gave way to more adventurous pairings. Chefs began incorporating Thai sweet chili sauce, mango, and other pan-Asian flavors. This shift reflected a broader globalization of the American palate. For a deeper look at the culinary history of the Florida Keys, The Food Timeline offers a fascinating overview.
Today, coconut shrimp is a beloved classic. It stands as a testament to how a simple, delicious idea can capture the collective imagination.
The Science of the Perfect Crunch
Creating the ultimate crispy oven baked coconut shrimp is a precise exercise. Every step is purposeful. It is designed to build texture and flavor through culinary physics and chemistry.
The Crunch Factor: A Multi-Layered Approach
Our coating is a carefully engineered system. The first layer is a simple dusting of flour. It serves a critical purpose: it provides a dry, sticky surface. This surface acts as glue for the egg wash, ensuring maximum adhesion.
The egg wash itself is more than just a binder. We whisk in a small amount of toasted sesame oil. This introduces volatile aromatic compounds. These compounds release during baking. Consequently, they perfume the entire crust with a subtle, nutty warmth that perfectly complements the coconut.
The final layer is a calibrated mixture of panko and toasted coconut. Panko’s large, jagged flakes create a maximized surface area. This results in a lighter, airier, and significantly crunchier texture than standard breadcrumbs. This is a well-documented phenomenon in food science.
The toasted coconut is the flavor powerhouse. Toasting drives off moisture. It also initiates the Maillard reaction on the coconut’s natural sugars and proteins. This is the same chemical process that browns a steak. It creates a deeper, more complex, and nuttier flavor profile.
Finally, a light spray of oil is essential. Baking on a wire rack ensures even browning. It also prevents the bottom from steaming. For a deep dive into why panko is superior, Serious Eats: The Science of Panko provides an excellent explanation.
The Science of the Balanced Sauce
The Mango Chili Sauce: A Study in Contrast
This sauce is a masterclass in flavor balancing. The sweet chili sauce provides the base. It offers fruity sweetness and mild heat. The fresh mango adds a brighter, more complex sweetness. It also contributes a velvety body.
Fresh lime juice is the critical acid. It cuts through the sweetness. As a result, it prevents the sauce from tasting cloying or one-dimensional. The smoked paprika introduces a subtle layer of earthy complexity. It adds a whisper of smoke.
Finally, the fresh basil is essential. It contributes volatile, peppery, and slightly minty aromatic compounds. These lift and unify all the other flavors. Each element is essential. Together, they create a sauce far greater than the sum of its parts.
Perfect Pairings: A Complete Culinary Journey
This crispy oven baked coconut shrimp is a versatile dish. It can anchor a truly memorable multi-course meal. Here’s how to build a cohesive and exciting menu around it.
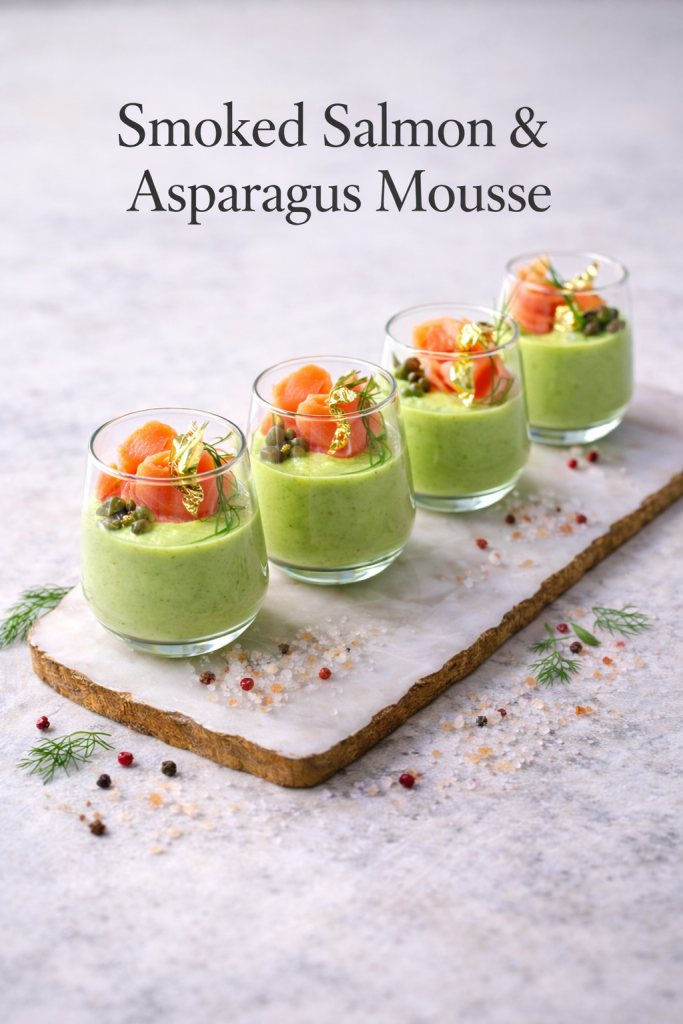
- Appetizer: Smoked Salmon & Asparagus Mousse: An Elegant 5-Ingredient Appetizer. Begin with this stunning, no-bake mousse. Its silky, smoky, and herby profile is a sophisticated prelude. It prepares the palate for the crunchy, sweet shrimp to come.
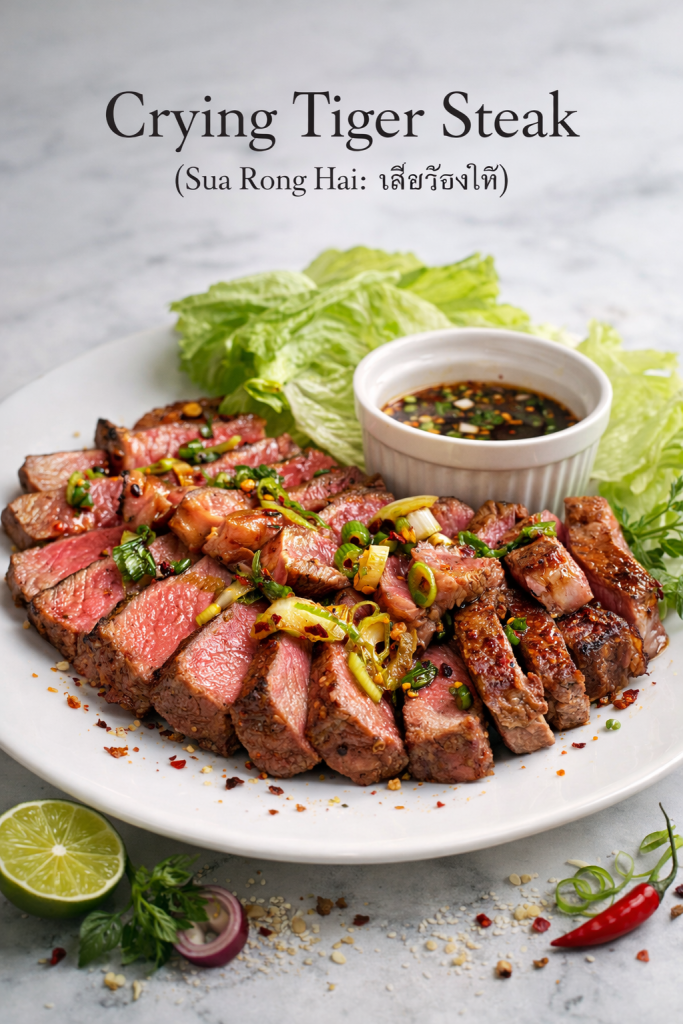
- Main Course: Crying Tiger Steak (Sua Rong Hai: เสือร้องไห้): Authentic Thai Grilled Beef. After the delicate sweetness of the shrimp, transition to bold, smoky depth. The charred steak and its iconic Nam Jim Jaew sauce introduce a thrilling counterpoint. The sour, spicy, and umami notes provide a complex and memorable contrast.
- Side Dish: Miso Charred Cabbage. Take a humble head of green cabbage. Cut it into thick wedges. Sear them in a blazing-hot cast-iron pan until deeply charred and smoky. Finish with a brush of simple glaze. Combine white miso paste, a splash of mirin, toasted sesame oil, and a pinch of sugar. The miso’s profound umami and the cabbage’s natural sweetness create a savory depth. This perfectly bridges the sweet shrimp and the bold steak.
- Dessert: Fluffy Lemon Meringue Cupcakes with Lemon Curd Center. End on a bright, citrusy note. The tangy lemon curd and fluffy meringue provide a clean, palate-cleansing finish. It offers a perfect, light ending to the meal.
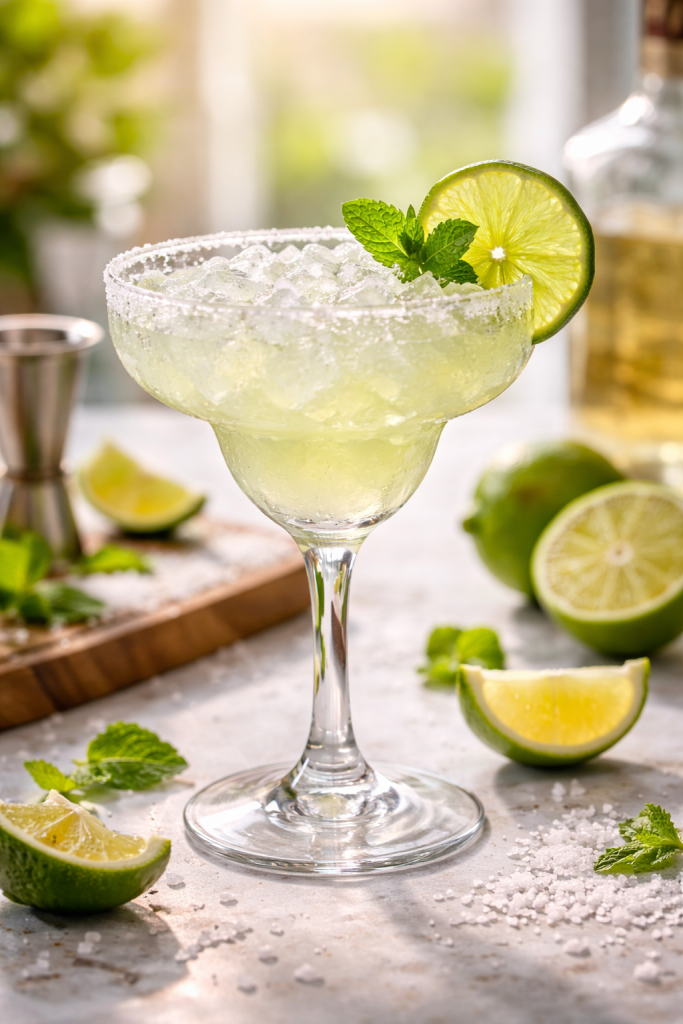
- Cocktail: Spicy Mango Margarita. Muddle fresh jalapeño with lime juice. Combine with tequila, orange liqueur, and fresh mango purée. The smoky salt rim, spicy kick, and sweet mango echo the dish’s dipping sauce perfectly.
- Non-Alcoholic Drink: Sparkling Ginger-Lime Cooler. Muddle fresh ginger with lime juice and simple syrup. Top with club soda and ice. The spicy ginger and bright lime offer a refreshing, palate-cleansing counterpoint to the rich shrimp.

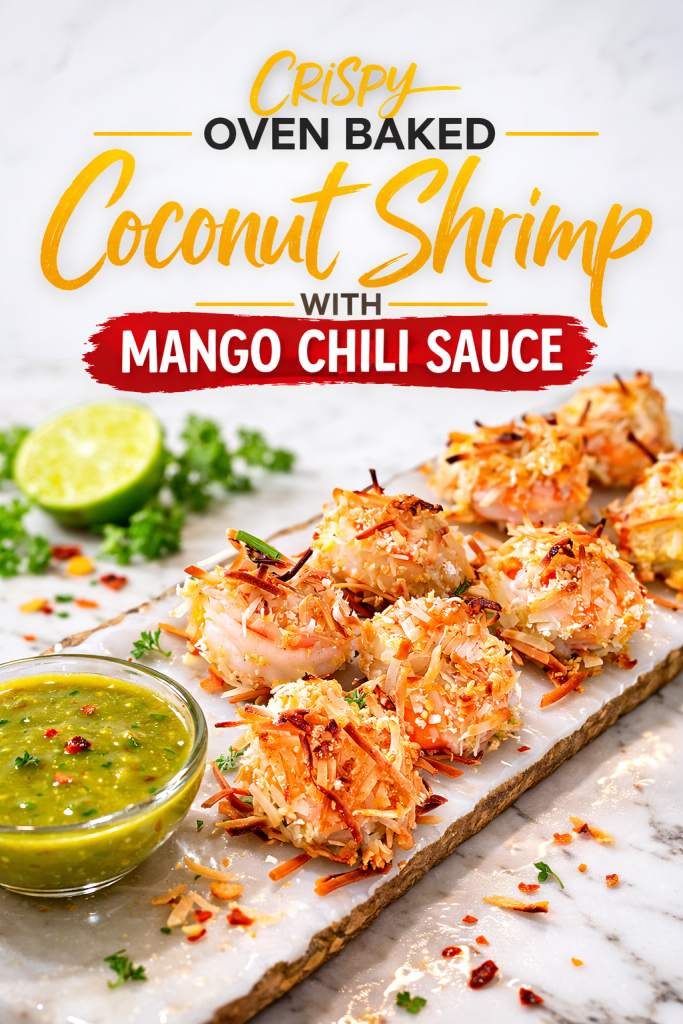
Description
Forget the deep fryer. This recipe delivers impossibly crunchy, golden coconut shrimp with a deeply flavorful, toasty crust. Paired with a vibrant, sweet-and-spicy mango chili sauce, it's the perfect appetizer or light meal.
Ingredients
For the Toasted Coconut Coating:
For the Shrimp:
For the Mango Chili Sauce:
Instructions
-
Toast the Coconut: This step is crucial for flavor. Place the shredded coconut in a dry skillet over medium heat. Cook, stirring constantly, for 3-5 minutes, until it turns golden brown and smells wonderfully nutty. Watch it carefully—it burns quickly! Immediately transfer the toasted coconut to a shallow dish to cool. Simply Recipes offers a great visual guide on this technique.
-
Prepare the Dredging Station: Set up your assembly line. In the first shallow bowl, combine the flour, salt, and pepper. In a second shallow bowl, whisk the eggs with the toasted sesame oil until frothy. In a third shallow bowl, combine the cooled toasted coconut with the panko breadcrumbs, mixing them together with your fingers.
-
Prepare the Shrimp: Pat the shrimp completely dry with paper towels. This helps the flour adhere. Working one at a time, dredge a shrimp in the flour mixture, shaking off any excess. Dip it into the egg wash, letting any excess drip off. Finally, press it firmly into the coconut-panko mixture, ensuring it's evenly coated on all sides. Place the coated shrimp on a plate or baking sheet. Repeat with all shrimp.
-
Chill (Optional but Recommended): For the crispiest results, place the breaded shrimp in the refrigerator for 15-30 minutes. This helps the coating set and adhere better during baking.
-
Bake the Shrimp: Preheat your oven to 400°F (200°C). Line a large baking sheet with parchment paper or a silicone baking mat. Place a wire rack on top of the baking sheet (this allows air to circulate underneath for even crisping). Arrange the shrimp in a single layer on the rack, making sure they don't touch. Lightly spray the tops of the shrimp with olive oil cooking spray. This is essential for golden browning.
-
Bake to Perfection: Bake for 10-12 minutes, then flip the shrimp and spray the other side lightly with oil. Continue baking for another 2-4 minutes, until the shrimp are pink, opaque, and the coating is deep golden brown and crispy. The total time will depend on the size of your shrimp. Do not overbake, or the shrimp will become tough.
-
Make the Mango Chili Sauce: While the shrimp bake, combine all sauce ingredients in a blender or food processor. Blend until completely smooth. Taste and adjust, adding more lime for tang, more chili sauce for sweetness/heat, or a pinch of salt to balance.
-
Serve Immediately: Serve the hot, crispy coconut shrimp immediately with the cool, vibrant mango chili sauce for dipping.

Nutrition Facts
Servings 5
- Amount Per Serving
- Calories 385kcal
- % Daily Value *
- Total Fat 14g22%
- Saturated Fat 9g45%
- Sodium 790mg33%
- Total Carbohydrate 43g15%
- Dietary Fiber 4g16%
- Sugars 22g
- Protein 23g46%
* Percent Daily Values are based on a 2,000 calorie diet. Your daily value may be higher or lower depending on your calorie needs.
Note
- The Science of the Wire Rack: Don't skip the wire rack! It allows hot air to circulate all around the shrimp, preventing the bottoms from becoming soggy. Cook's Illustrated explains why this is essential for oven-frying.
- Toasting Coconut: This step doubles the flavor of your coconut. Keep a close eye on it, as it goes from golden to burnt very quickly.
- Gluten-Free Option: Substitute the all-purpose flour with a 1:1 gluten-free flour blend, and use gluten-free panko breadcrumbs.
- Storage: Store leftover baked shrimp and sauce separately in airtight containers in the refrigerator for up to 2 days. The shrimp will lose their crunch.
- Reheating: Reheat shrimp in a 350°F (175°C) oven for 5-7 minutes, or in an air fryer at 350°F for 2-3 minutes, until hot and re-crisped. Do not microwave.
- Make-Ahead: You can prepare the sauce up to 2 days in advance and store it in the fridge. You can also bread the shrimp a few hours ahead and keep them chilled on a baking sheet, covered.